The Best Ways to Create and Protect – Underdeck Features with Enhance Building and Trex Rainescape systems
When sprucing up or adding a deck to your home, it’s easy for homeowners to overlook the area under their decks. But that’s why we help you imagine how to maximise the use of your deck and outdoor space.
How to Make Use of the Area Under Your Deck
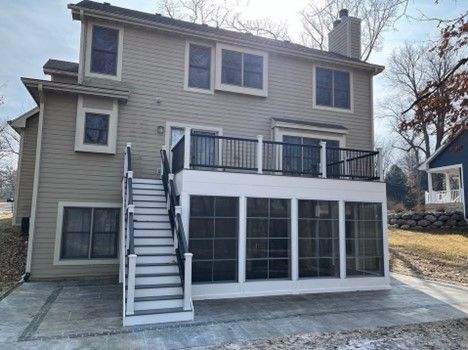
Depending on how elevated the deck is, you can maximise your space, whether for storage, landscaping, or an extra living area.
If the space under your deck is just a few feet off the ground, the best option is storage. If you have a second-story deck or a walk-out basement, the area under your deck can be a part of your landscaped yard or additional living space, which has no shortage of options.
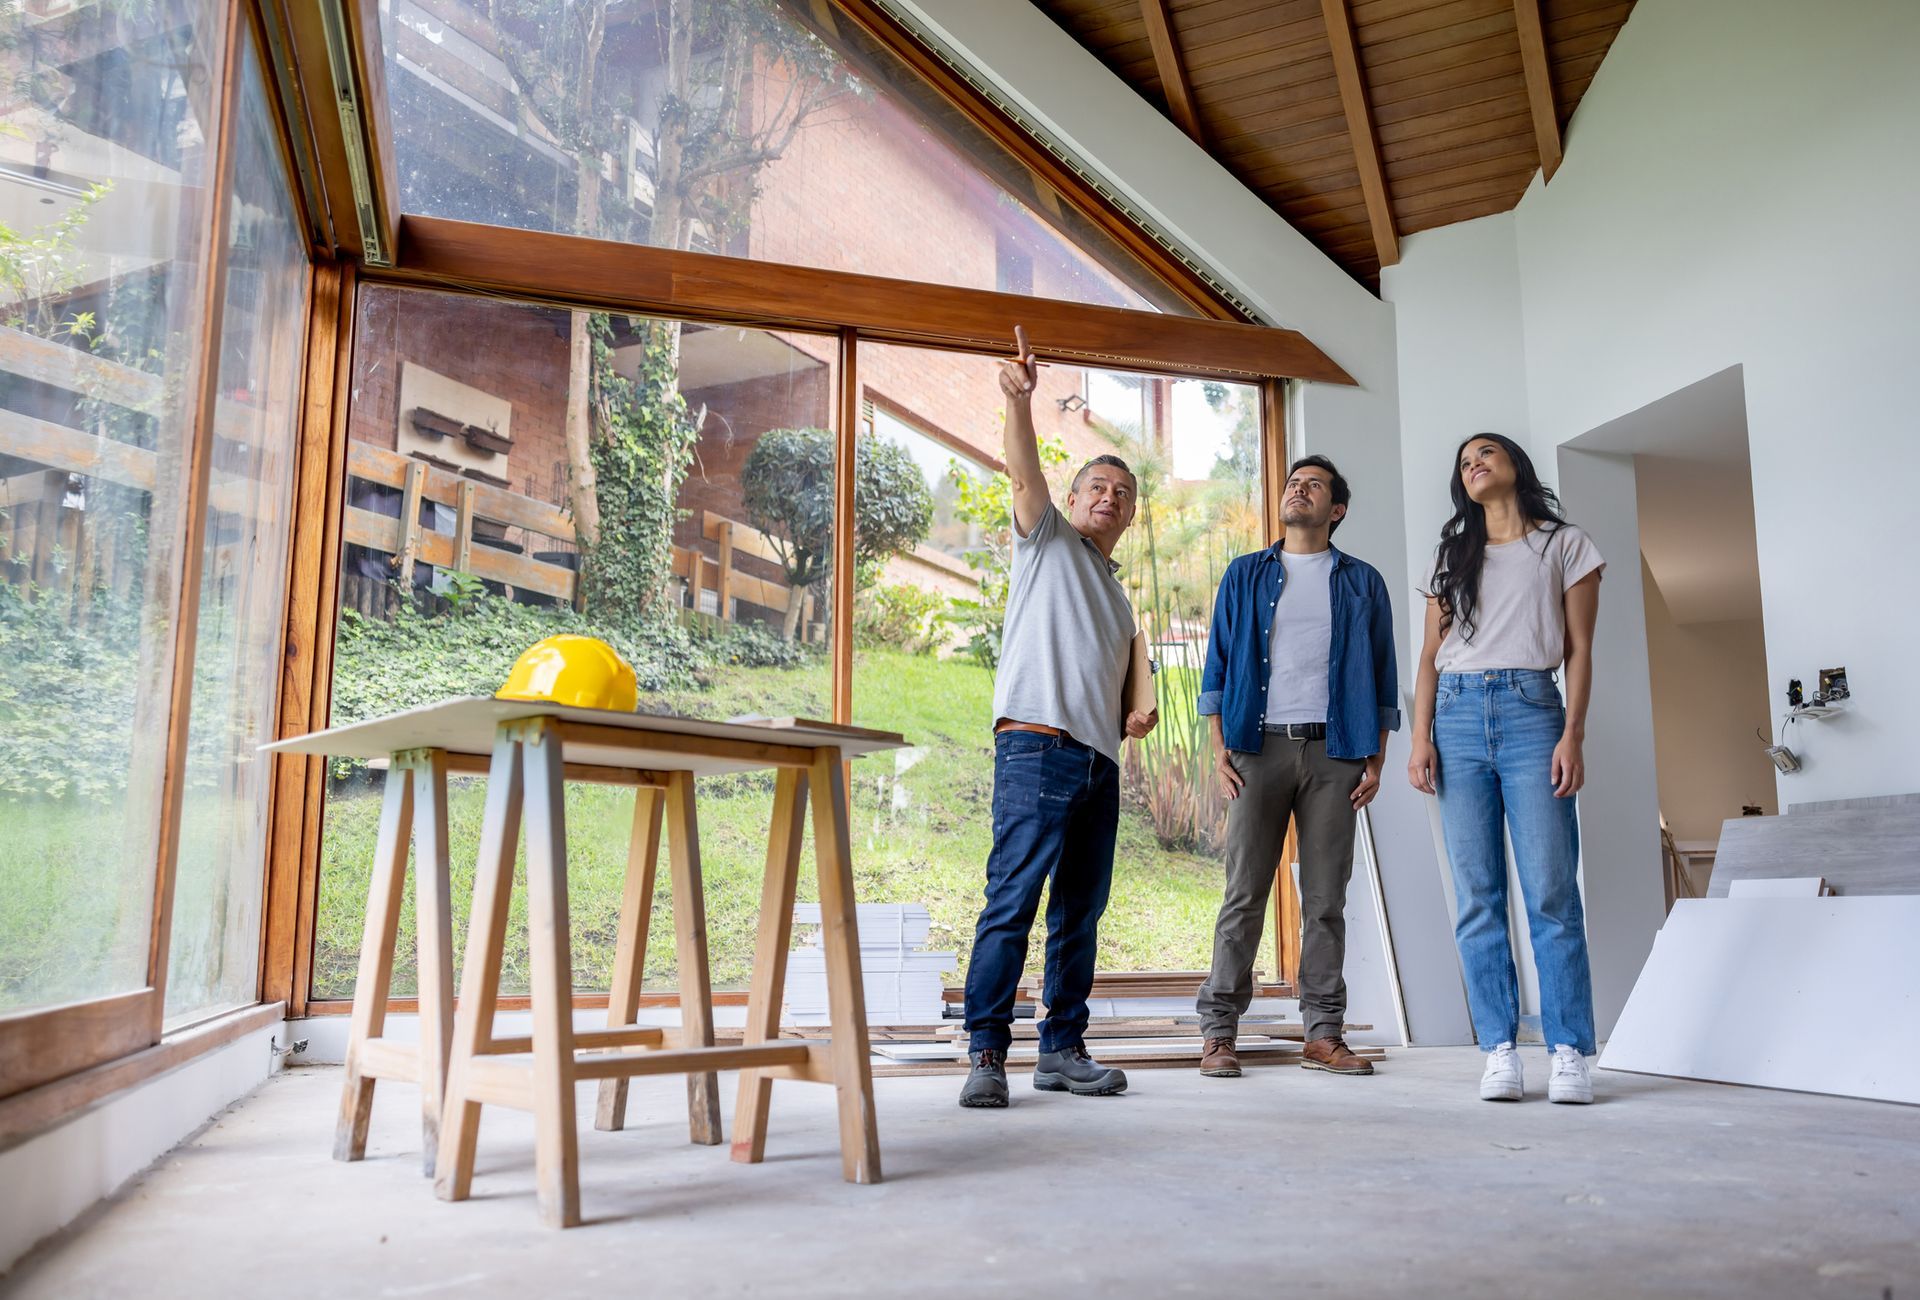
Before creating an underdeck feature, we can help homeowners determine what they need or want most and how the underdeck area would best enhance their home.
Using Underdeck Space for Storage
Let’s face it: we can all use extra storage space. The area under your deck is perfect for storing yard, gardening, or other household items. Depending on the clearance, you could stow a push lawnmower, ladders, rakes and shovels, wheelbarrow, outdoor furniture, or outdoor sporting and recreational gear.
To keep your items protected and private, latticing or skirting can create a wall around your underdeck area. This provides the additional benefit of creating a finished and more polished, stylish look and helping to keep out your household pets and any unwanted critters. A hinged door (wide enough for the items being stored) or a removable segment of the lattice or skirting creates the necessary access point to the storage area.
While any item placed in underdeck storage should withstand outdoor elements, the items can be further protected by covering them with tarps or by laying down a tarp, water-resistant flooring, or slabs of pavers to provide a moisture barrier.
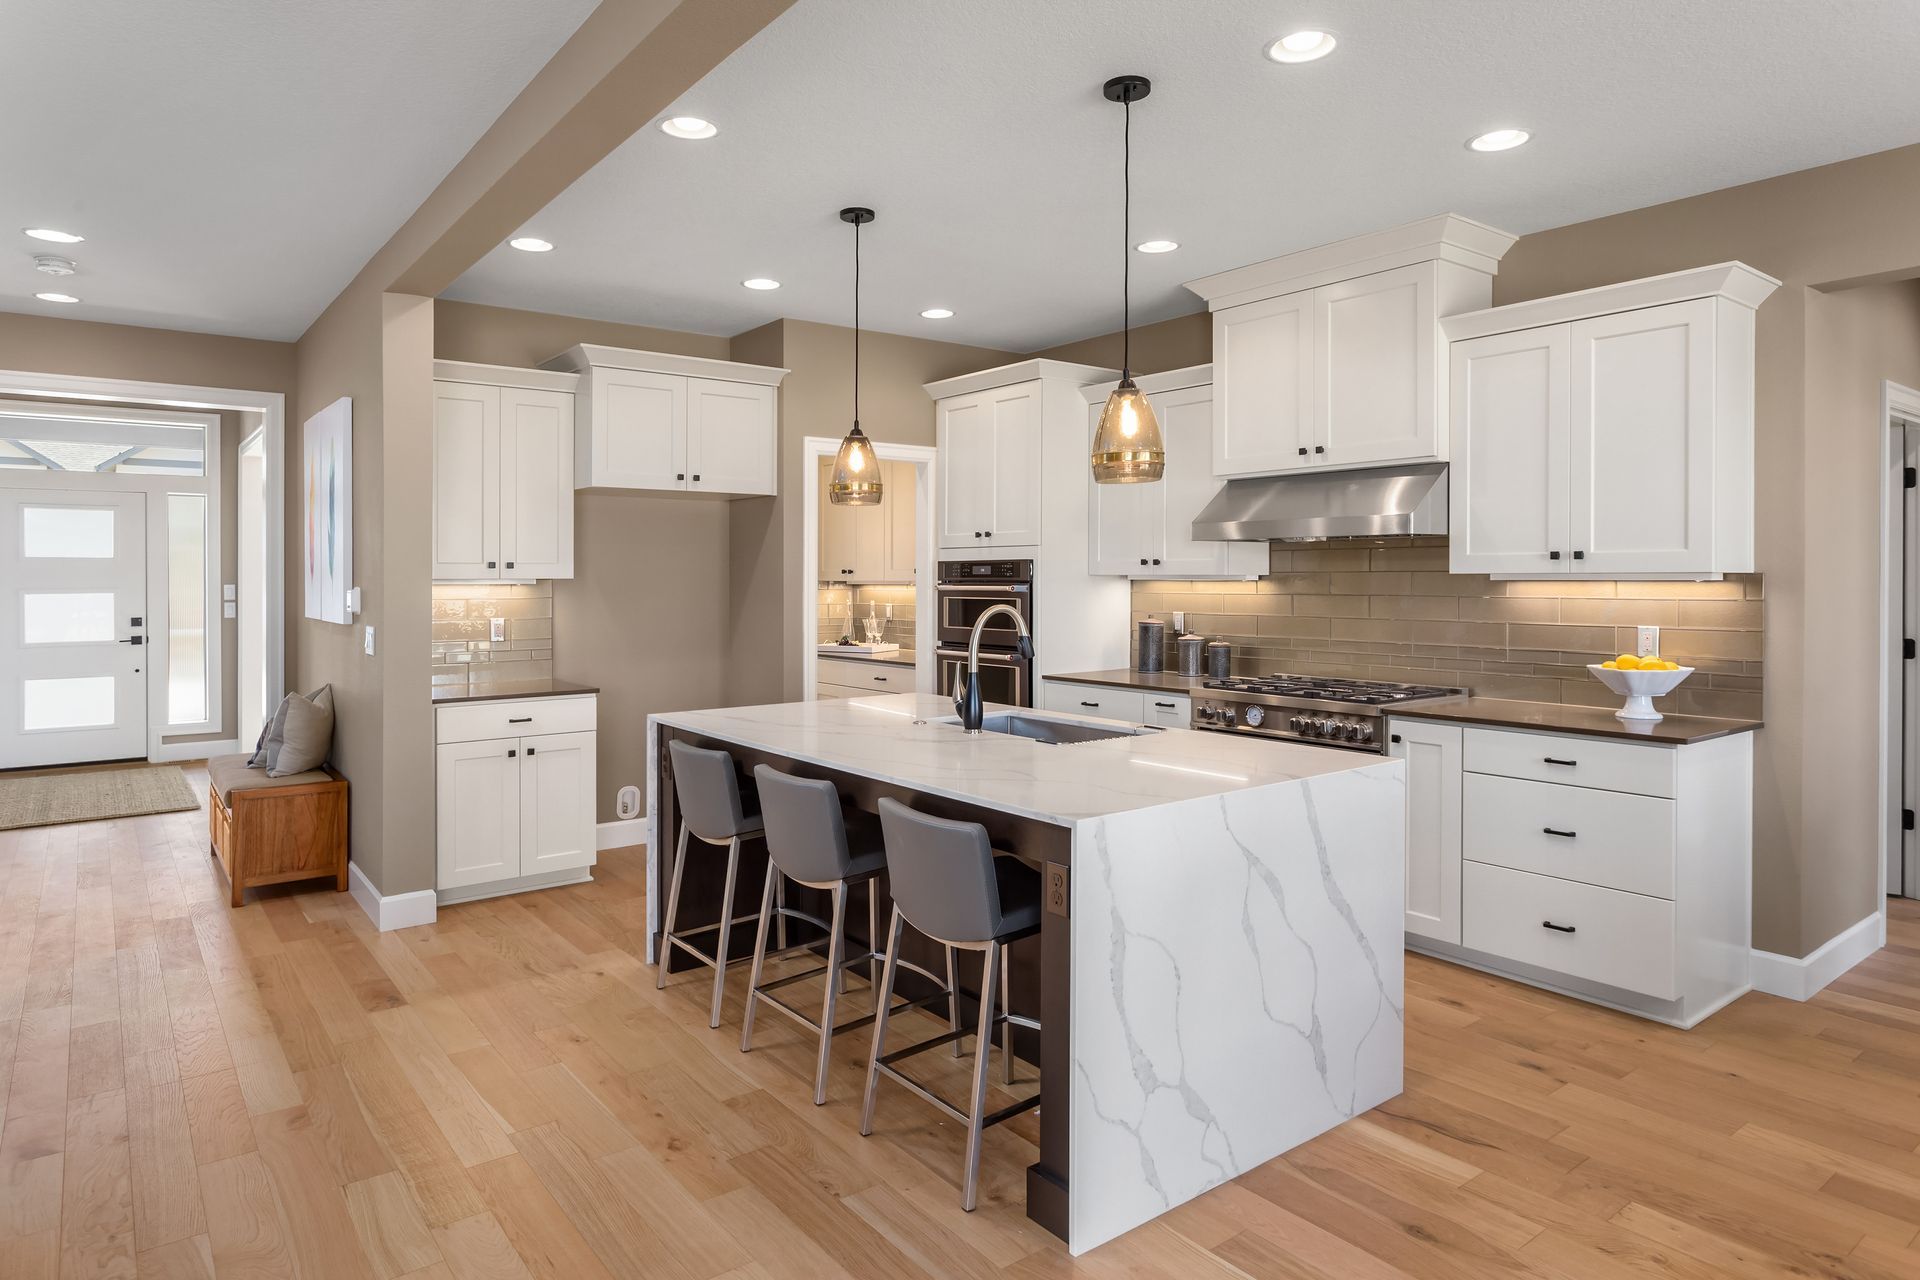
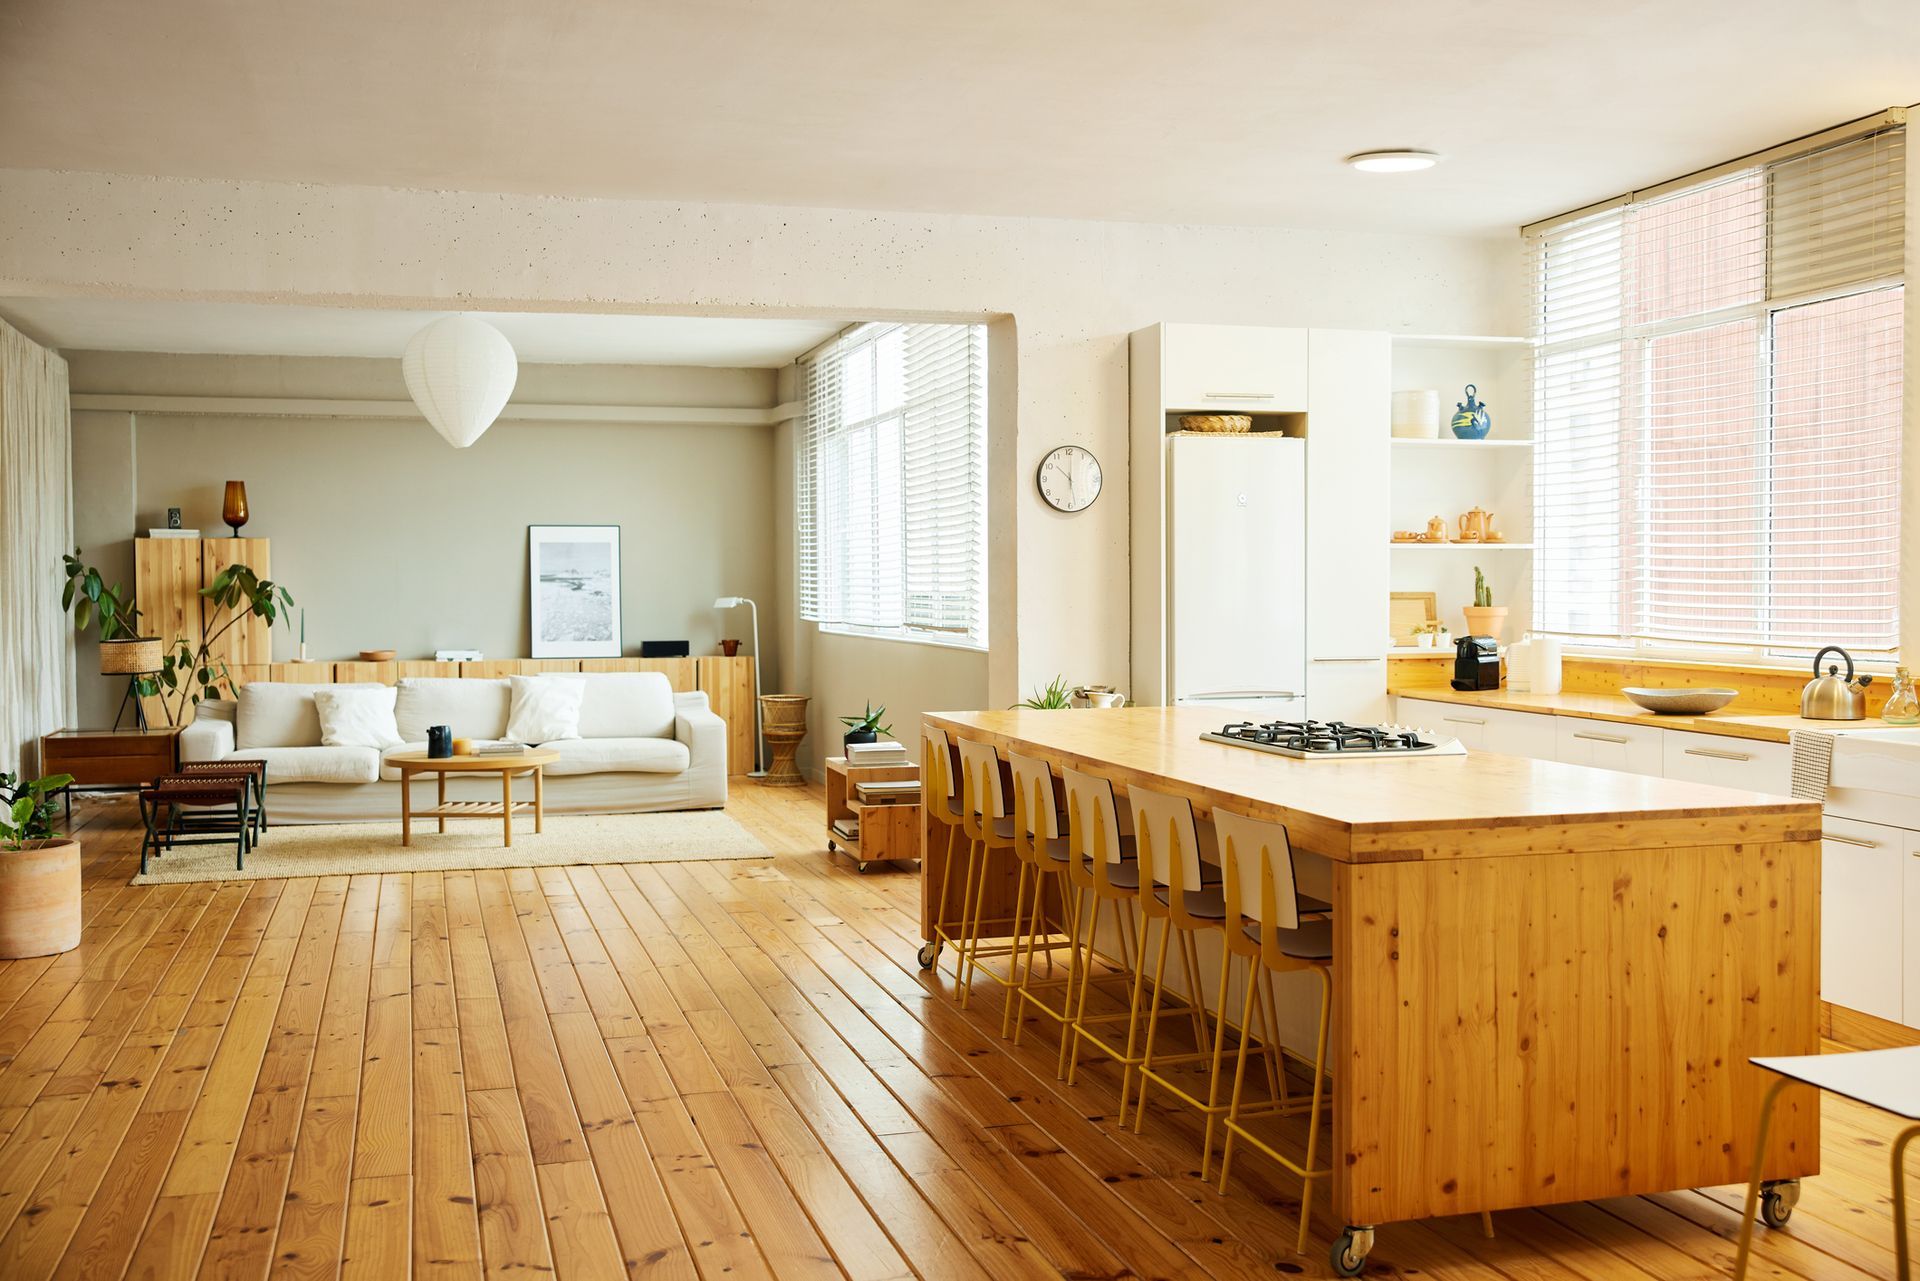
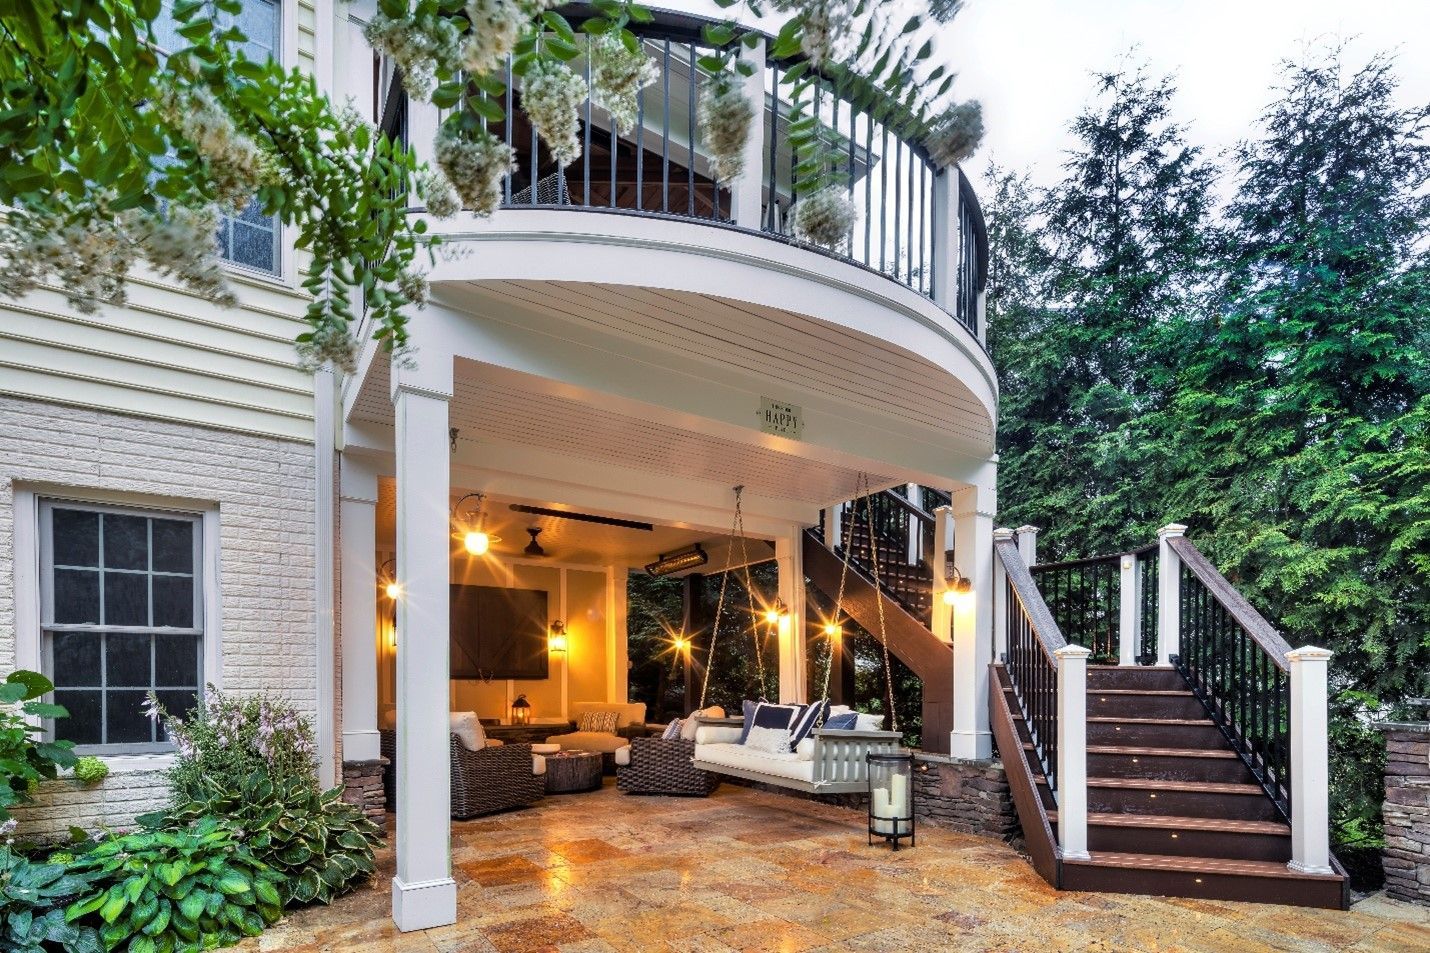
Using Underdeck Space for an Additional Living Area
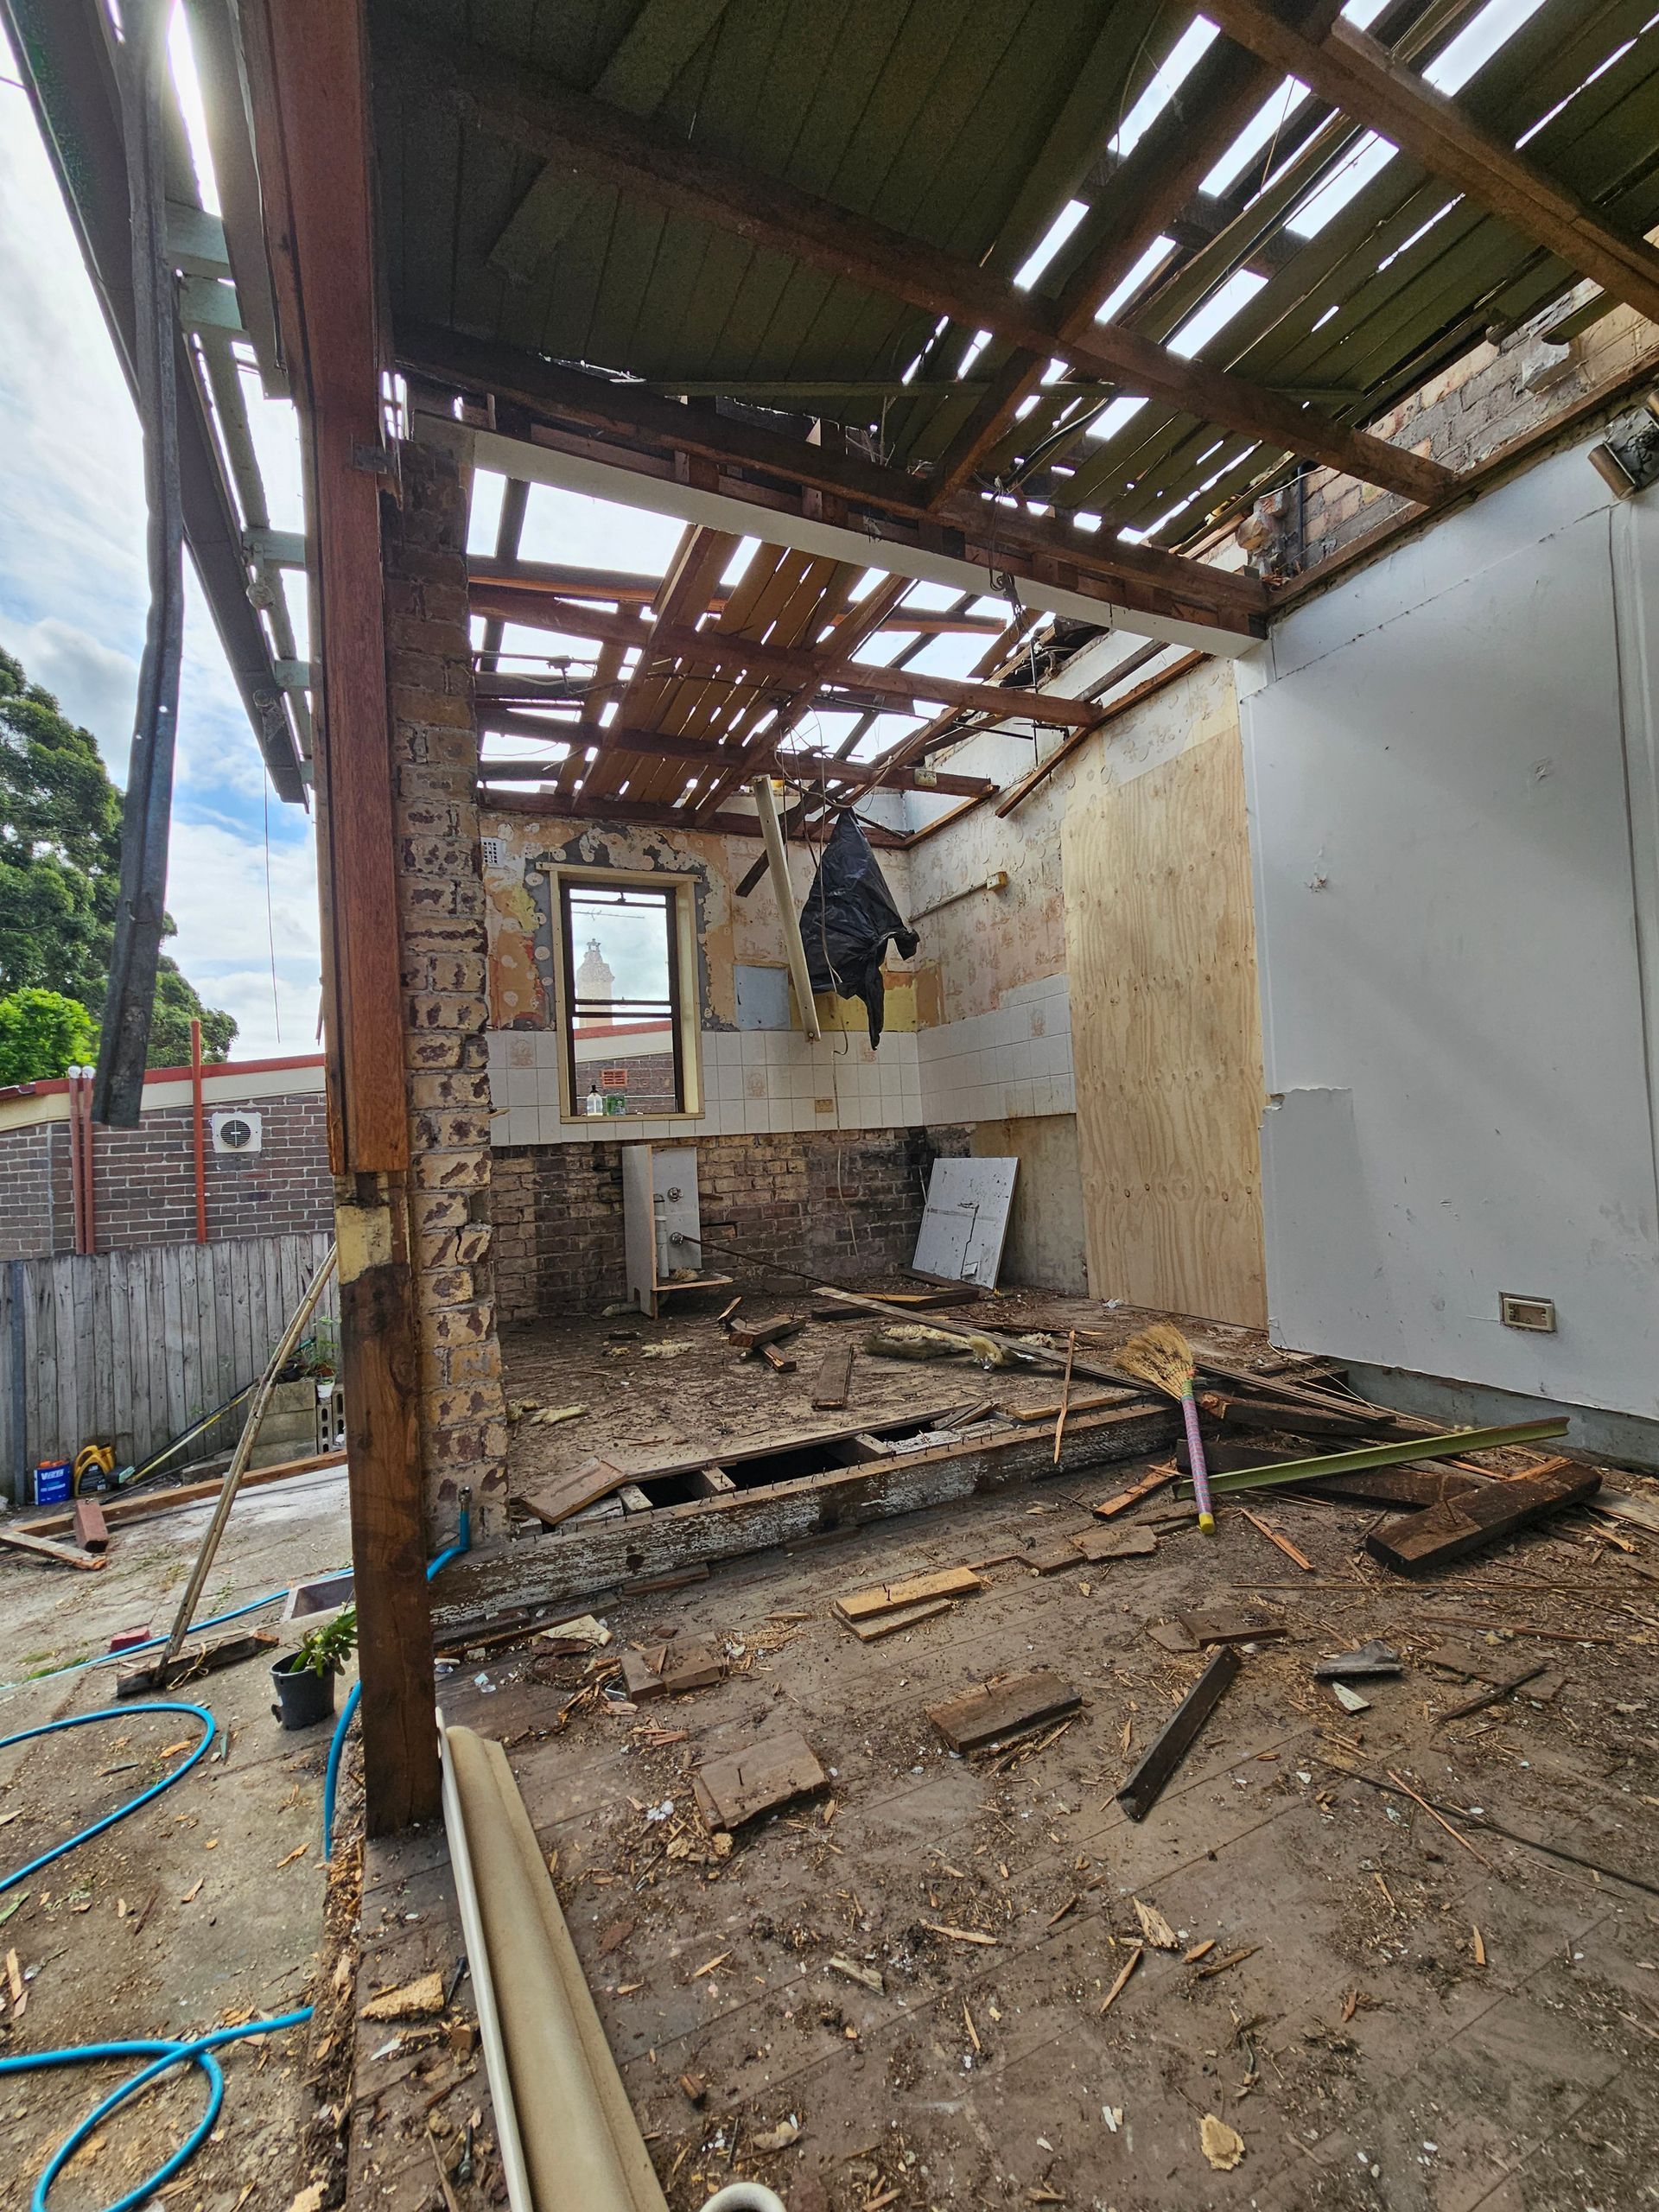
Waterproofing your underdeck is essential if you plan to use the space for an additional living or recreational area. You can add waterproofing to an existing deck or include it during the construction of a deck. With proper waterproofing, you can transform the underdeck area into another room in your home.
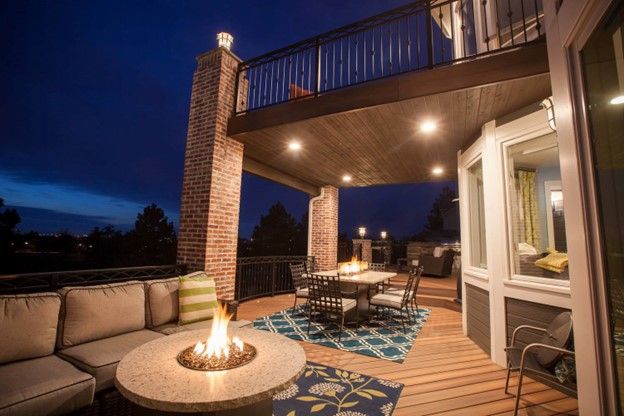
Outdoor living room
An underdeck living room gives you a comfortable, shady space to spend time with family and friends while enjoying the outdoors. To design the space:
- Create a focal point like a fireplace, television, or backyard.
- Arrange outdoor furniture – sofa, chairs, and tables – around the focal point and finish off the space with comfy pillows and cushions and an outdoor rug to help anchor the space and add some flair.
- Add a ceiling fan and lighting to enjoy the space day and night.
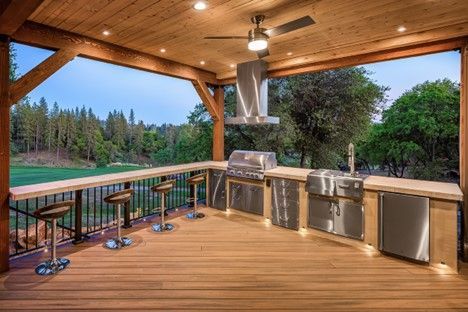
Outdoor Kitchen
We’ve all seen a deck with a BBQ, but what about an underdeck with a kitchen? You can move your party below deck by having a kitchen complete with a bar, refrigerator, cabinets, sink, and seating. Gather around the kitchen with your loved ones to whip up some meals, have some drinks, and dine outdoors.
Outdoor Spa or Gym
Why not transform your underdeck space into a private spa or gym for your personal use? Plus, it frees up space (and smells!) from inside your home. If you’ve waterproofed the area, you can install gym equipment such as flooring, ropes, bars, weights, and exercise straps. Add a stationary bike or treadmill if the area is dry, and enclosed, and air temperatures are compatible with the electronics. If space allows, a hot tub to relax those tired muscles, an outdoor shower to clean up, and a sound system or speakers would be ideal additional features.
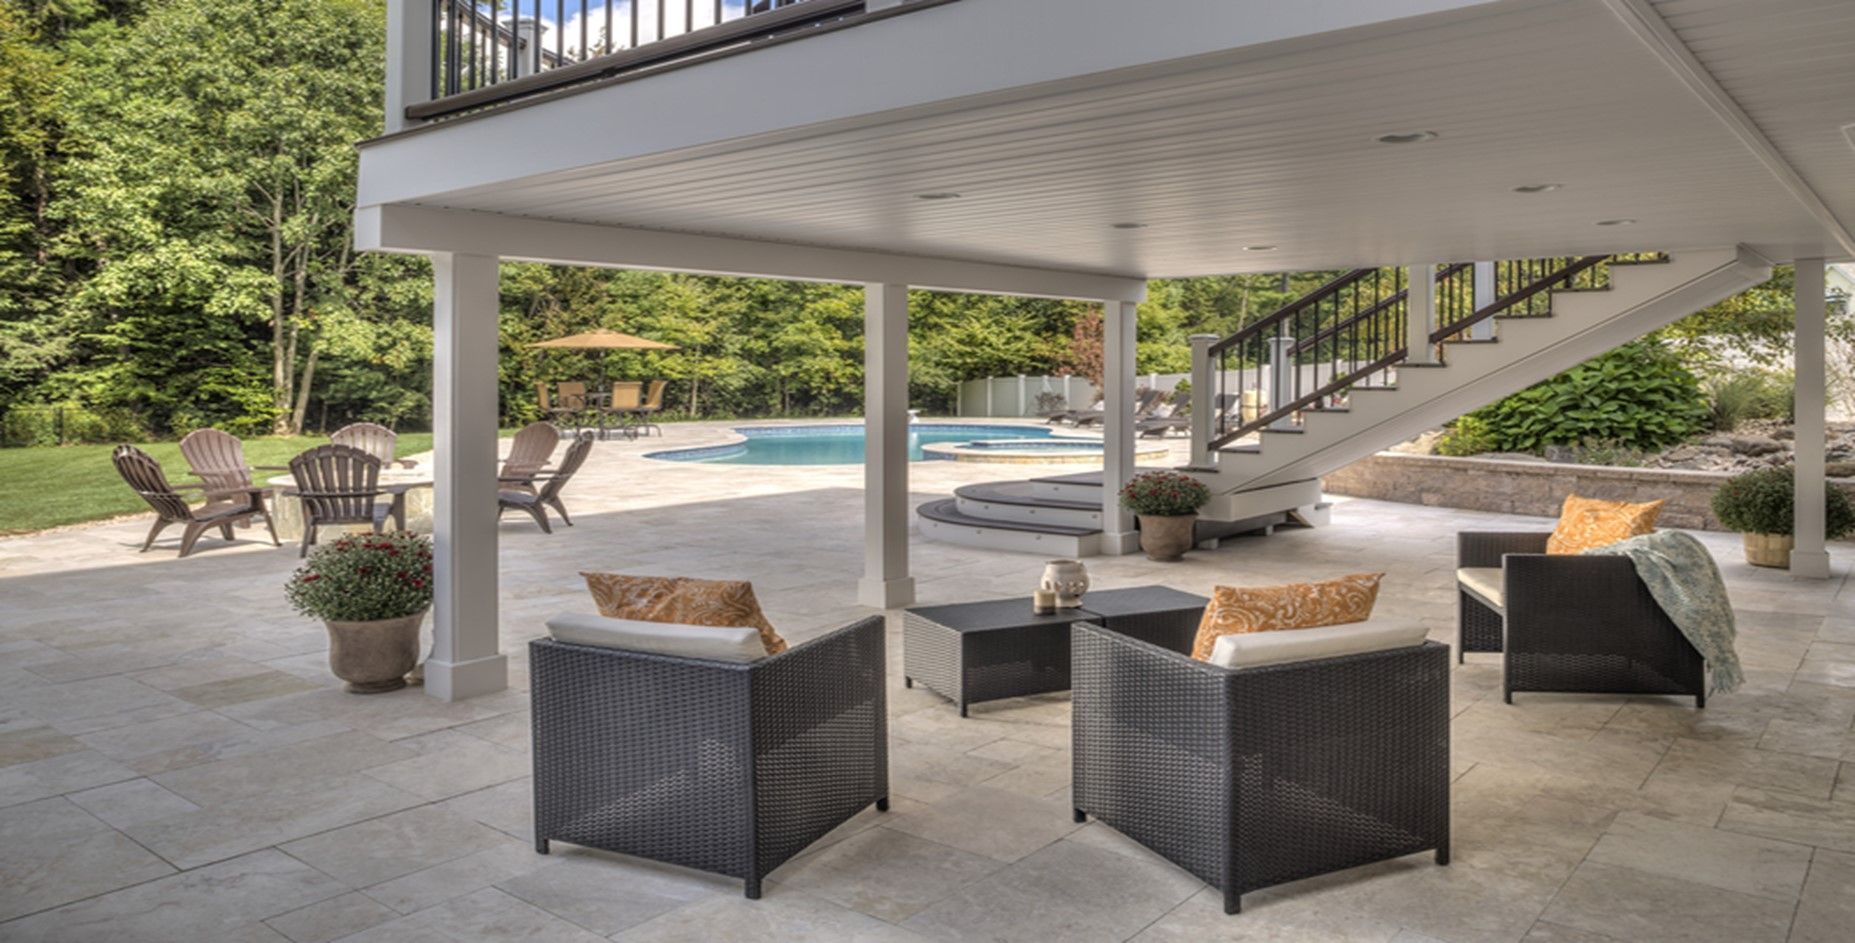
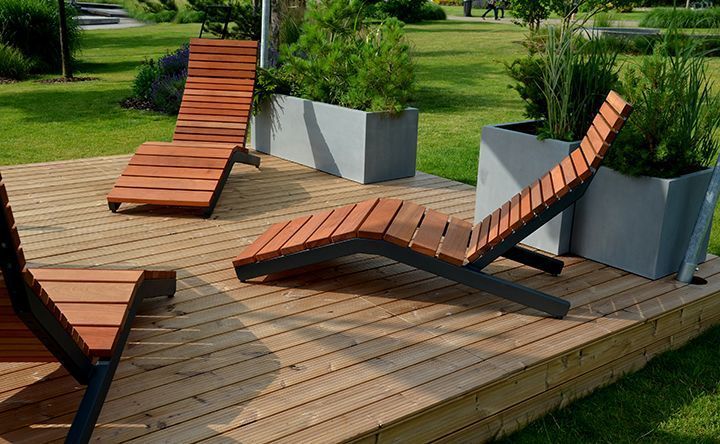
Using Underdeck Space as a Patio or Porch
The area under your deck can remain open as a patio or be screened in to create a porch. A screened-in porch offers additional protection from those pesky mosquitos and makes the space feel more connected to the structure of your home. If you don’t want the permanent structure of screens, you can create privacy and some protection with outdoor curtains or room dividers. A swing, seating, storage for outdoor sports and recreational equipment, and string lighting will add festive and fun touches to all of your playful moments.